This fabric makes me happy:
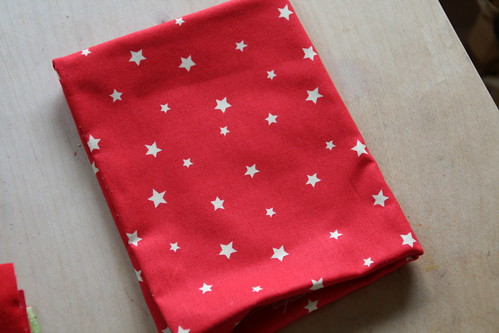
So does this:

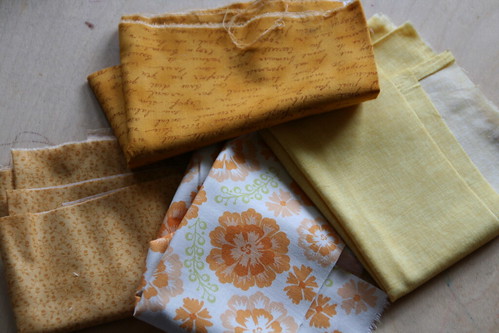
And these:
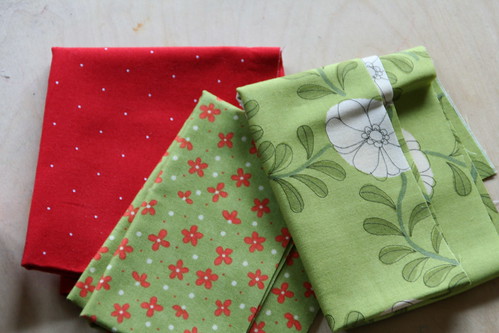
And these:
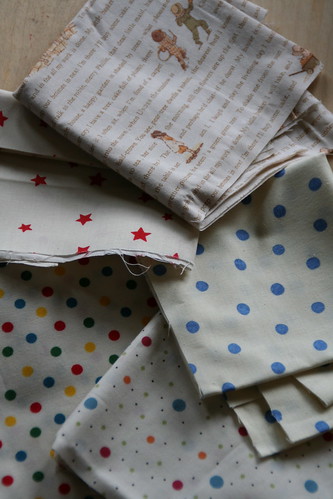
And these:
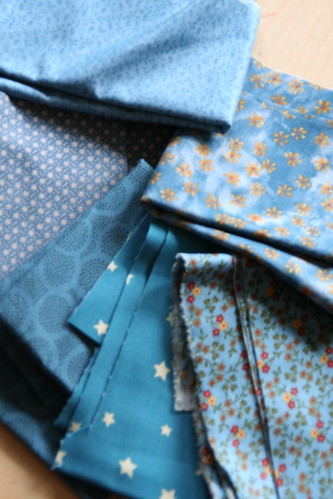
Not to mention these:
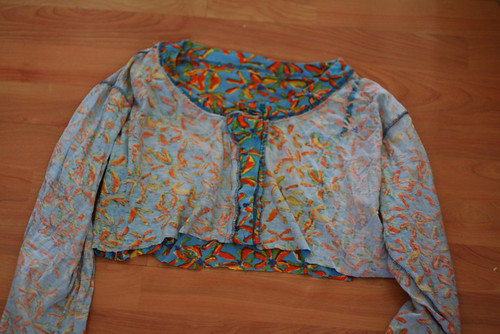
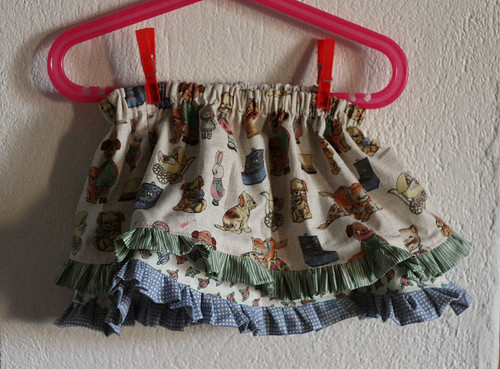
And this?
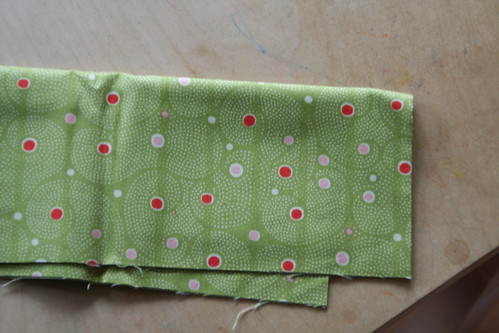
This puts a big silly grin on my face. Don’t know why. In fact, I’m considering whether it would be an idea to make a dress out of that last one.
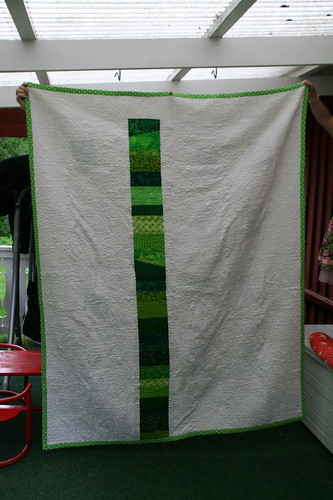
For now, though, I’m combining it with the rest of them, as well as this lovely thing:
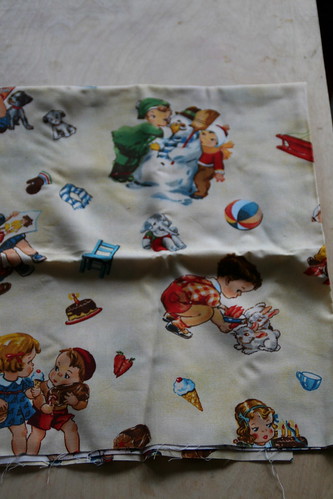
And these two:
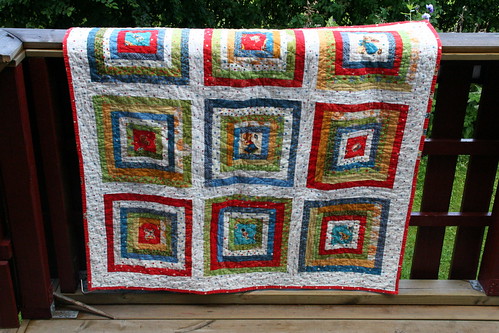
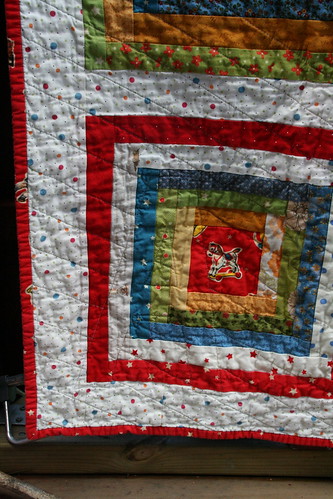
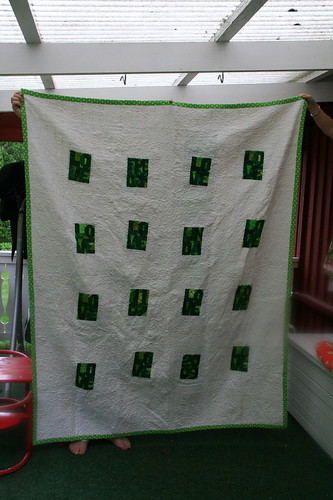
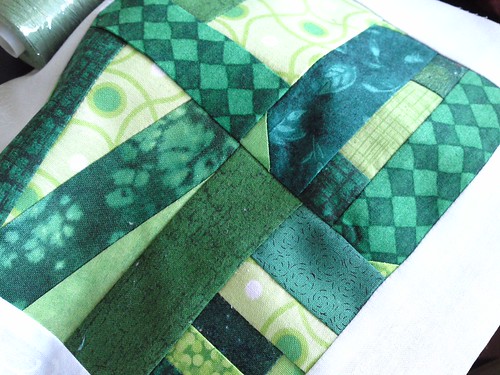
Inspired by the scrappy hedgerow blocks from Oh, Fransson!
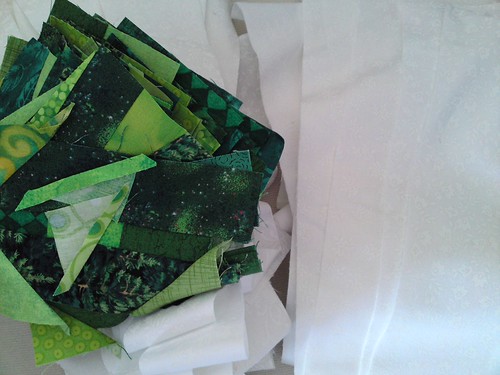
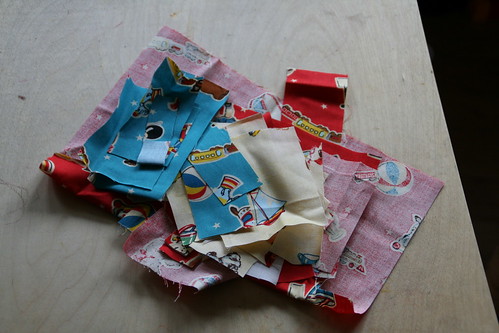
Note to self: Don’t start a scrappy quilt with all new fabric. It defeats the point, sort of. I didn’t have scraps to start with, but boy do I have scraps now.
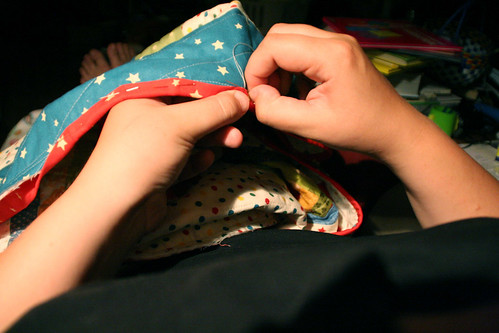
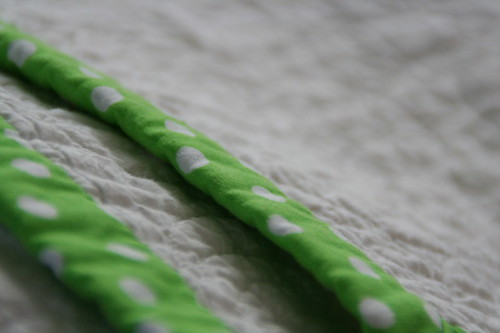
So you can imagine how happy this makes me:
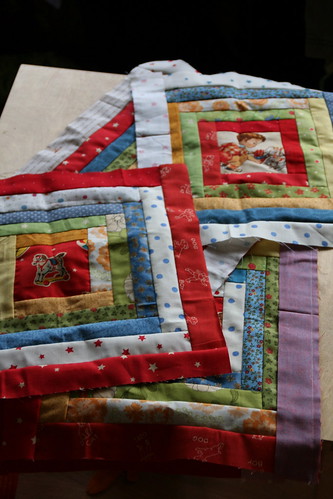
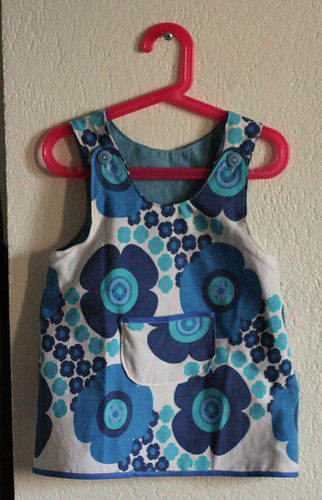
Which will be a present for a very special little lady who’s getting Christened in a couple of weeks. It should give little eyes something to investigate.
I’m in a quandry as to size, though. It’s already too big for a “baby quilt”, and that’s intentional, as I want it to be useful for a few years. But it’s definitely a quilt for a child, with the fabrics I’ve chosen, so it certainly needs to be useable nowrather than in ten years time. So how big is TOO big for a baby/toddler? My blocks are slightly larger than the tutorial suggests, they’ll be 13.5″ when sewn, and I have 12 of them. Even without sashing it will be 40.5×54 if I use all the blocks, and I’m thinking it will look better with sashing. Also, I need to quilt this one myself, and although I was thinking masking tape and straight lines, I still need to get the middle under my needle. How much fabric can I bunch up under the sewing machine arm before it becomes unworkable, I wonder?
Well, I’ll have to decide soon, I should get most of the work done this weekend if I want to finish in time…